|
|
|
|
|
In the Forums... |
Posted: September 09, 2002 Written by: Chris Angelini Step Six: Install Your Media With the cables out of the way, you can now install your hard disk drive, CD-ROM drive and floppy disk drive. First, you’ll want to make sure each drive is designated as a ‘master’ or ‘slave’ drive using the jumpers on the back of each drive. If you’ve got one hard drive and one CD-ROM, you’ll see the best performance from both devices if each is installed onto its own channel. In that case, both drives can be set as ‘masters.’ With the addition of a CD-RW drive, you would want to assign one drive as a ‘master’ and one as a ‘slave,’ leaving the hard drive on its own channel. Now, you’re ready to add a CD-ROM drive. You may have a metal panel preventing you from inserting the drive into a 5.25" slot. If so, remove the panel by rocking it back and forth until it comes loose. If your case uses rails, attach them to the drive and slide it into the chassis. Otherwise, use the included screws to secure the drive. 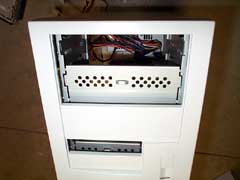 Click to enlarge. Finally, install your hard disk drive in an internal 3.5" bay. Many cases sport detachable disk drive bays that often ease installation, but if we were really looking for the easy way out, we would have picked up a G4 Cube. Attach the ends of each cable to the corresponding drive. For instance, the end of the primary IDE cable should run to the hard drive. Similarly, the end of the secondary cable should go to the secondary ‘master’ drive, while the second connector attaches to the secondary ‘slave.’  . . . . . . . . . . . .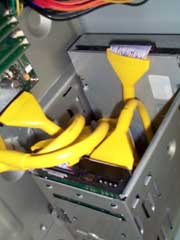 Click to enlarge. |
|||
|
| ||||
|---|---|---|---|---|